Zappa Manual
Overview
The SGF Zappa is a high performance low cost stickless controller powered by the Brook Fusion. It comes pre-configured with all necessary firmware and SOCD cleaning.
For questions about software configuration, firmware updates, and software support, please refer to the Brook Fusion documentation at https://www.brookaccessory.com/detail/27402750/
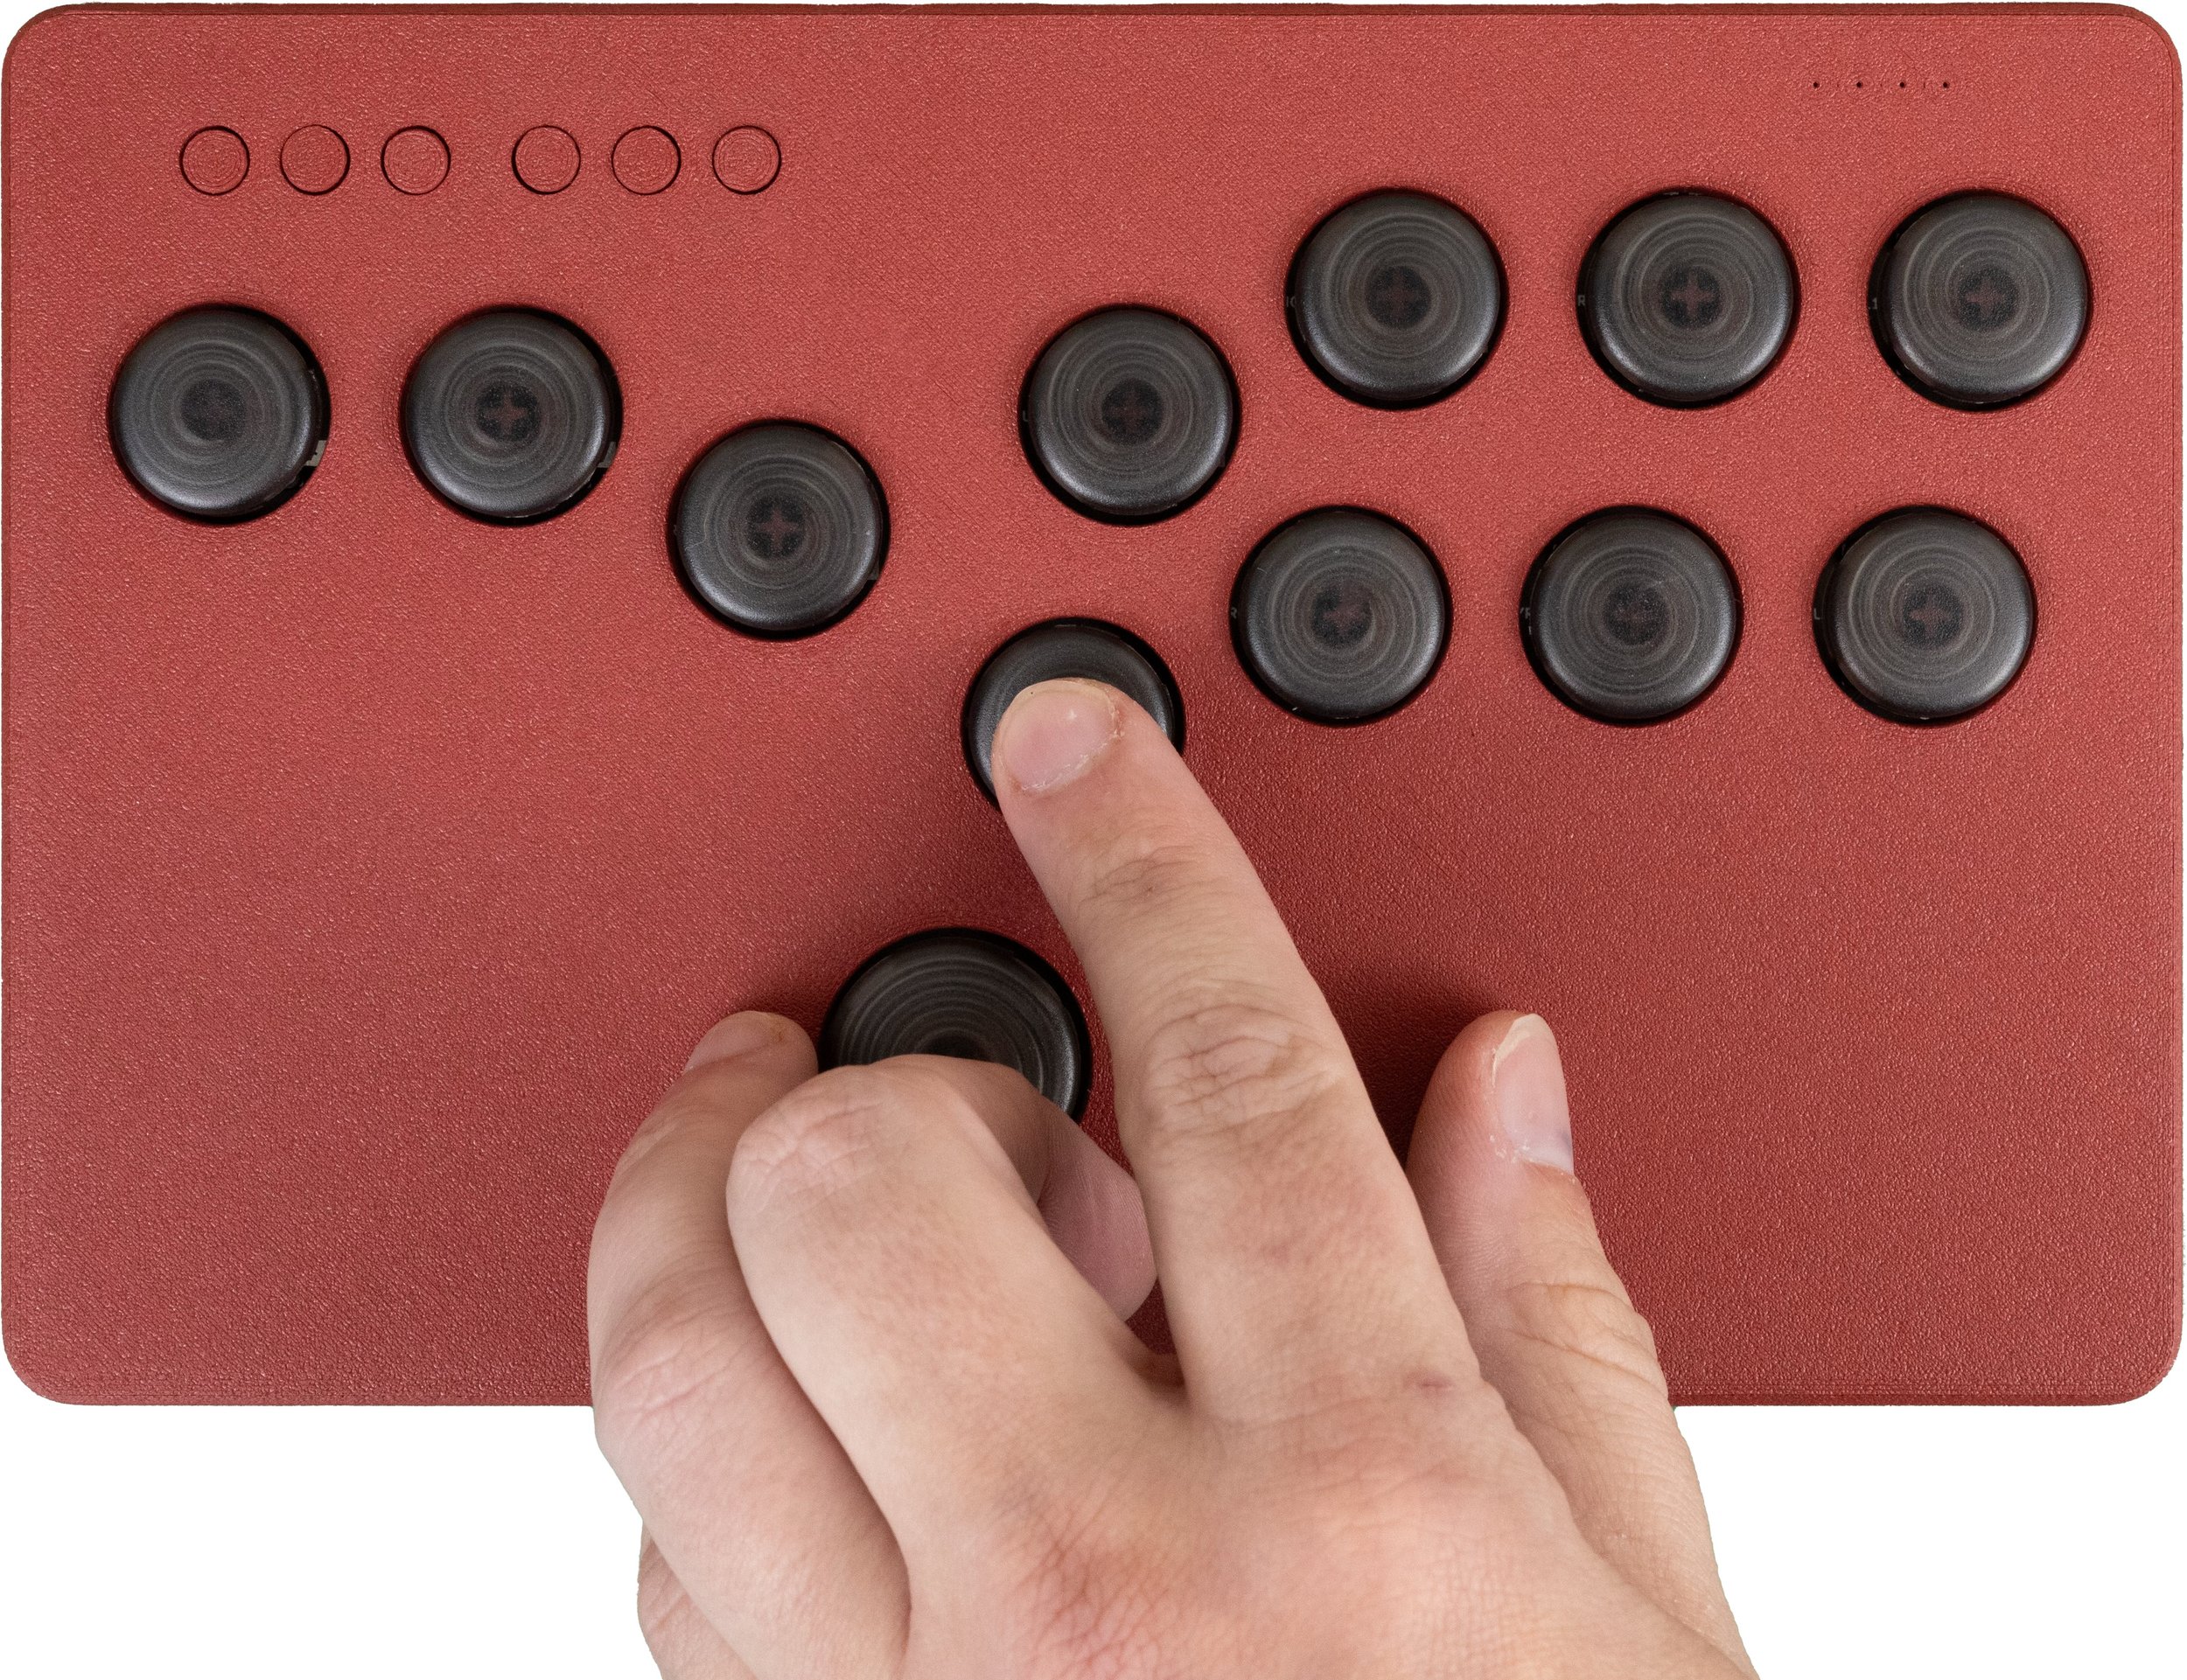
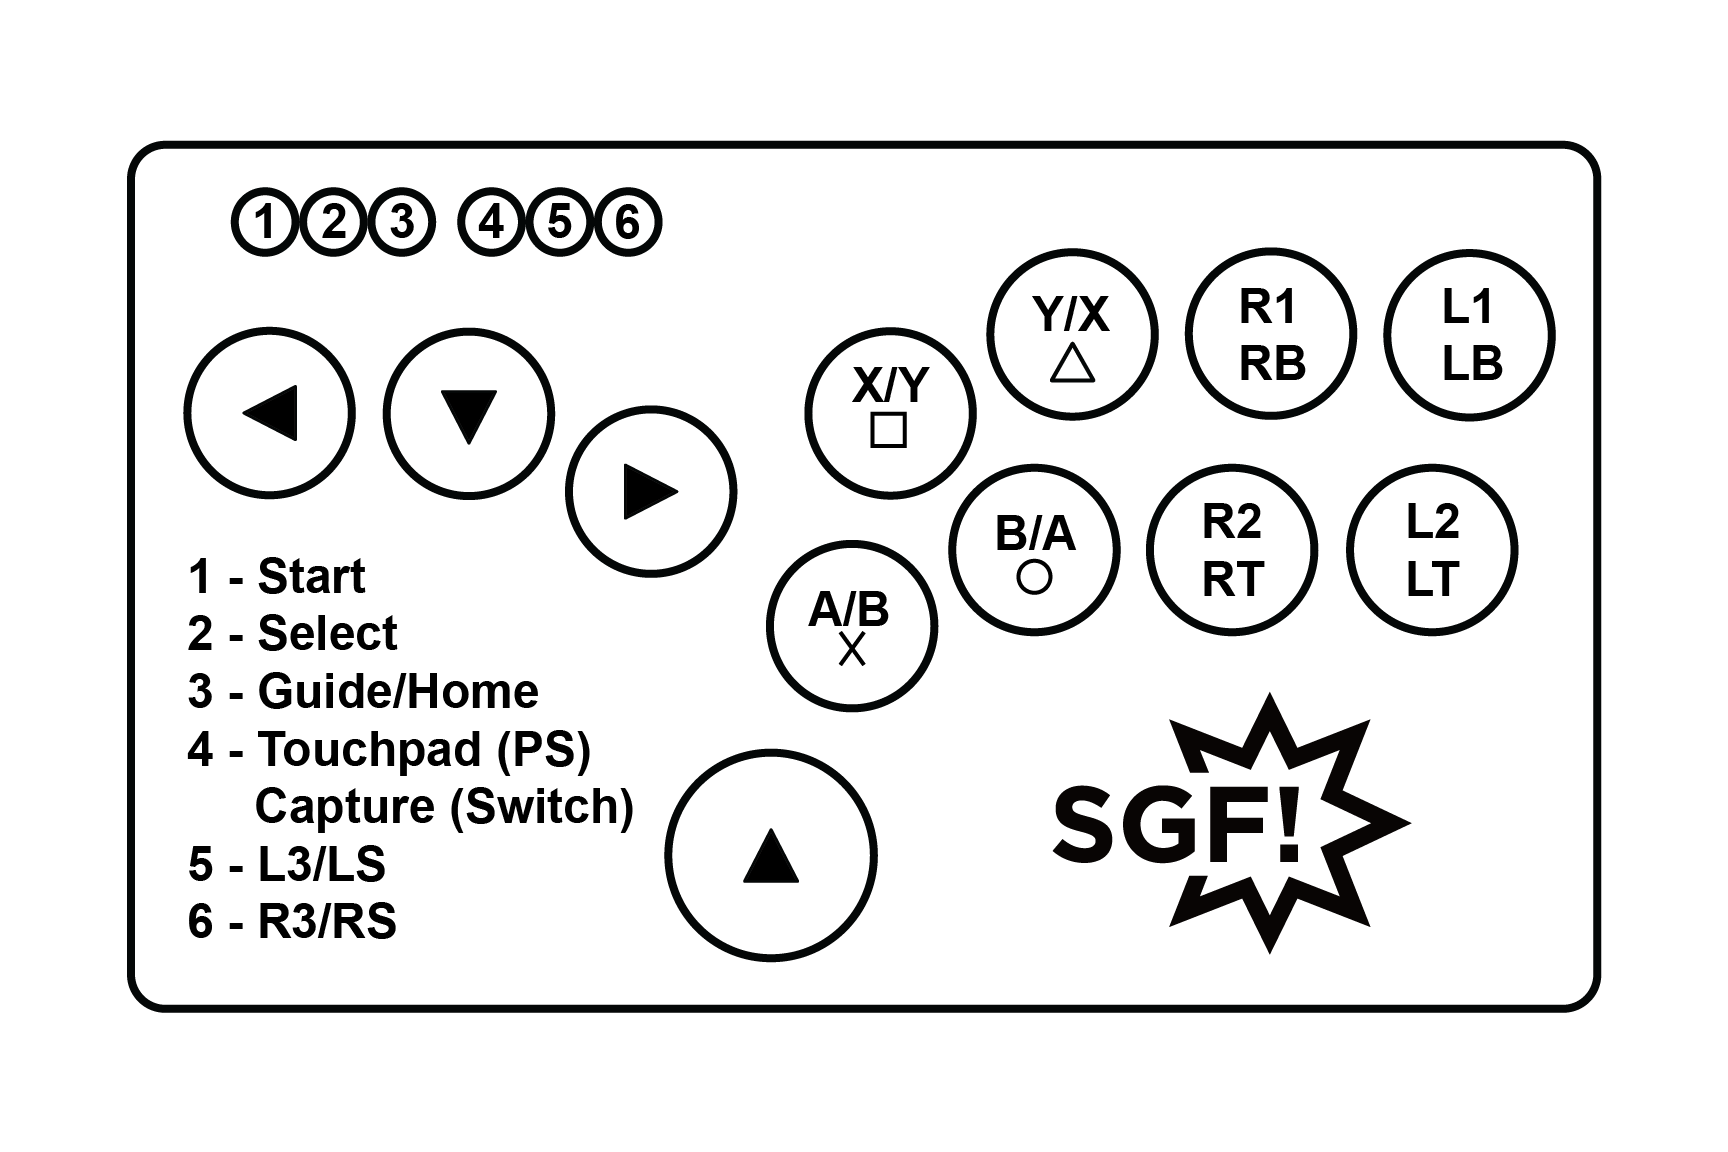
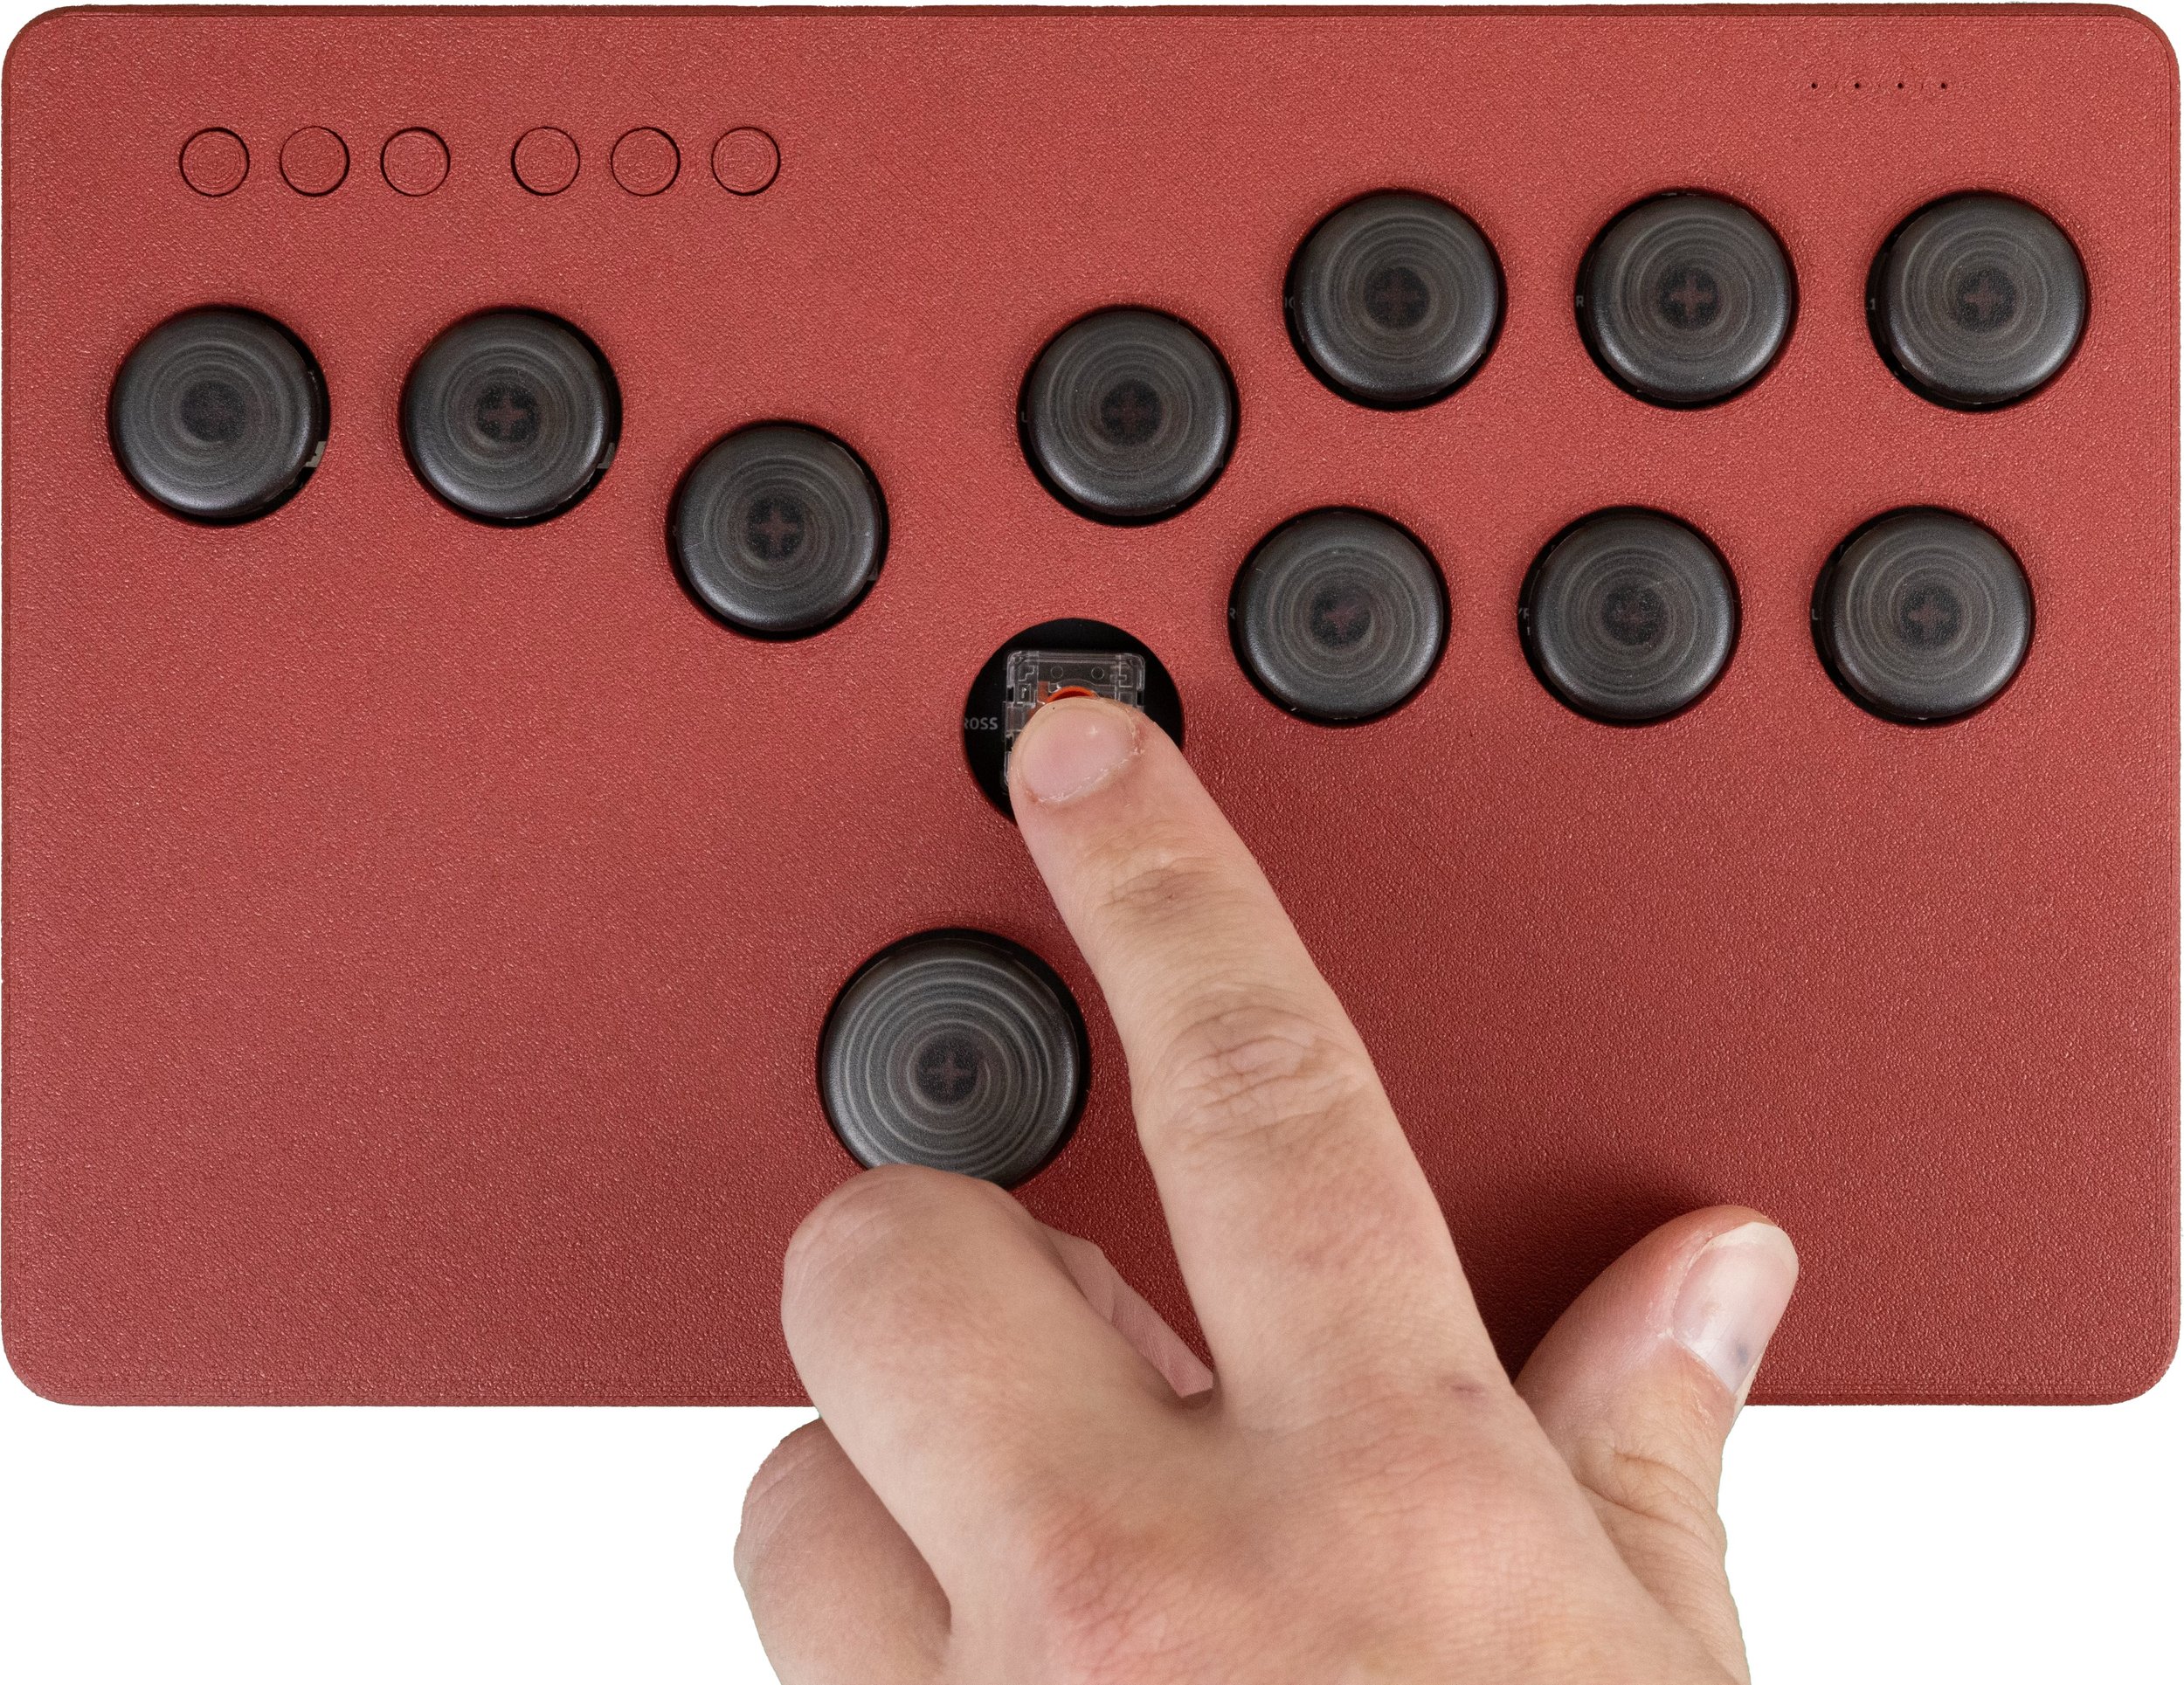
Layout
Changing Directional Behavior
Using the layout above, hold the following buttons for 3 seconds to change the directional input behavior.
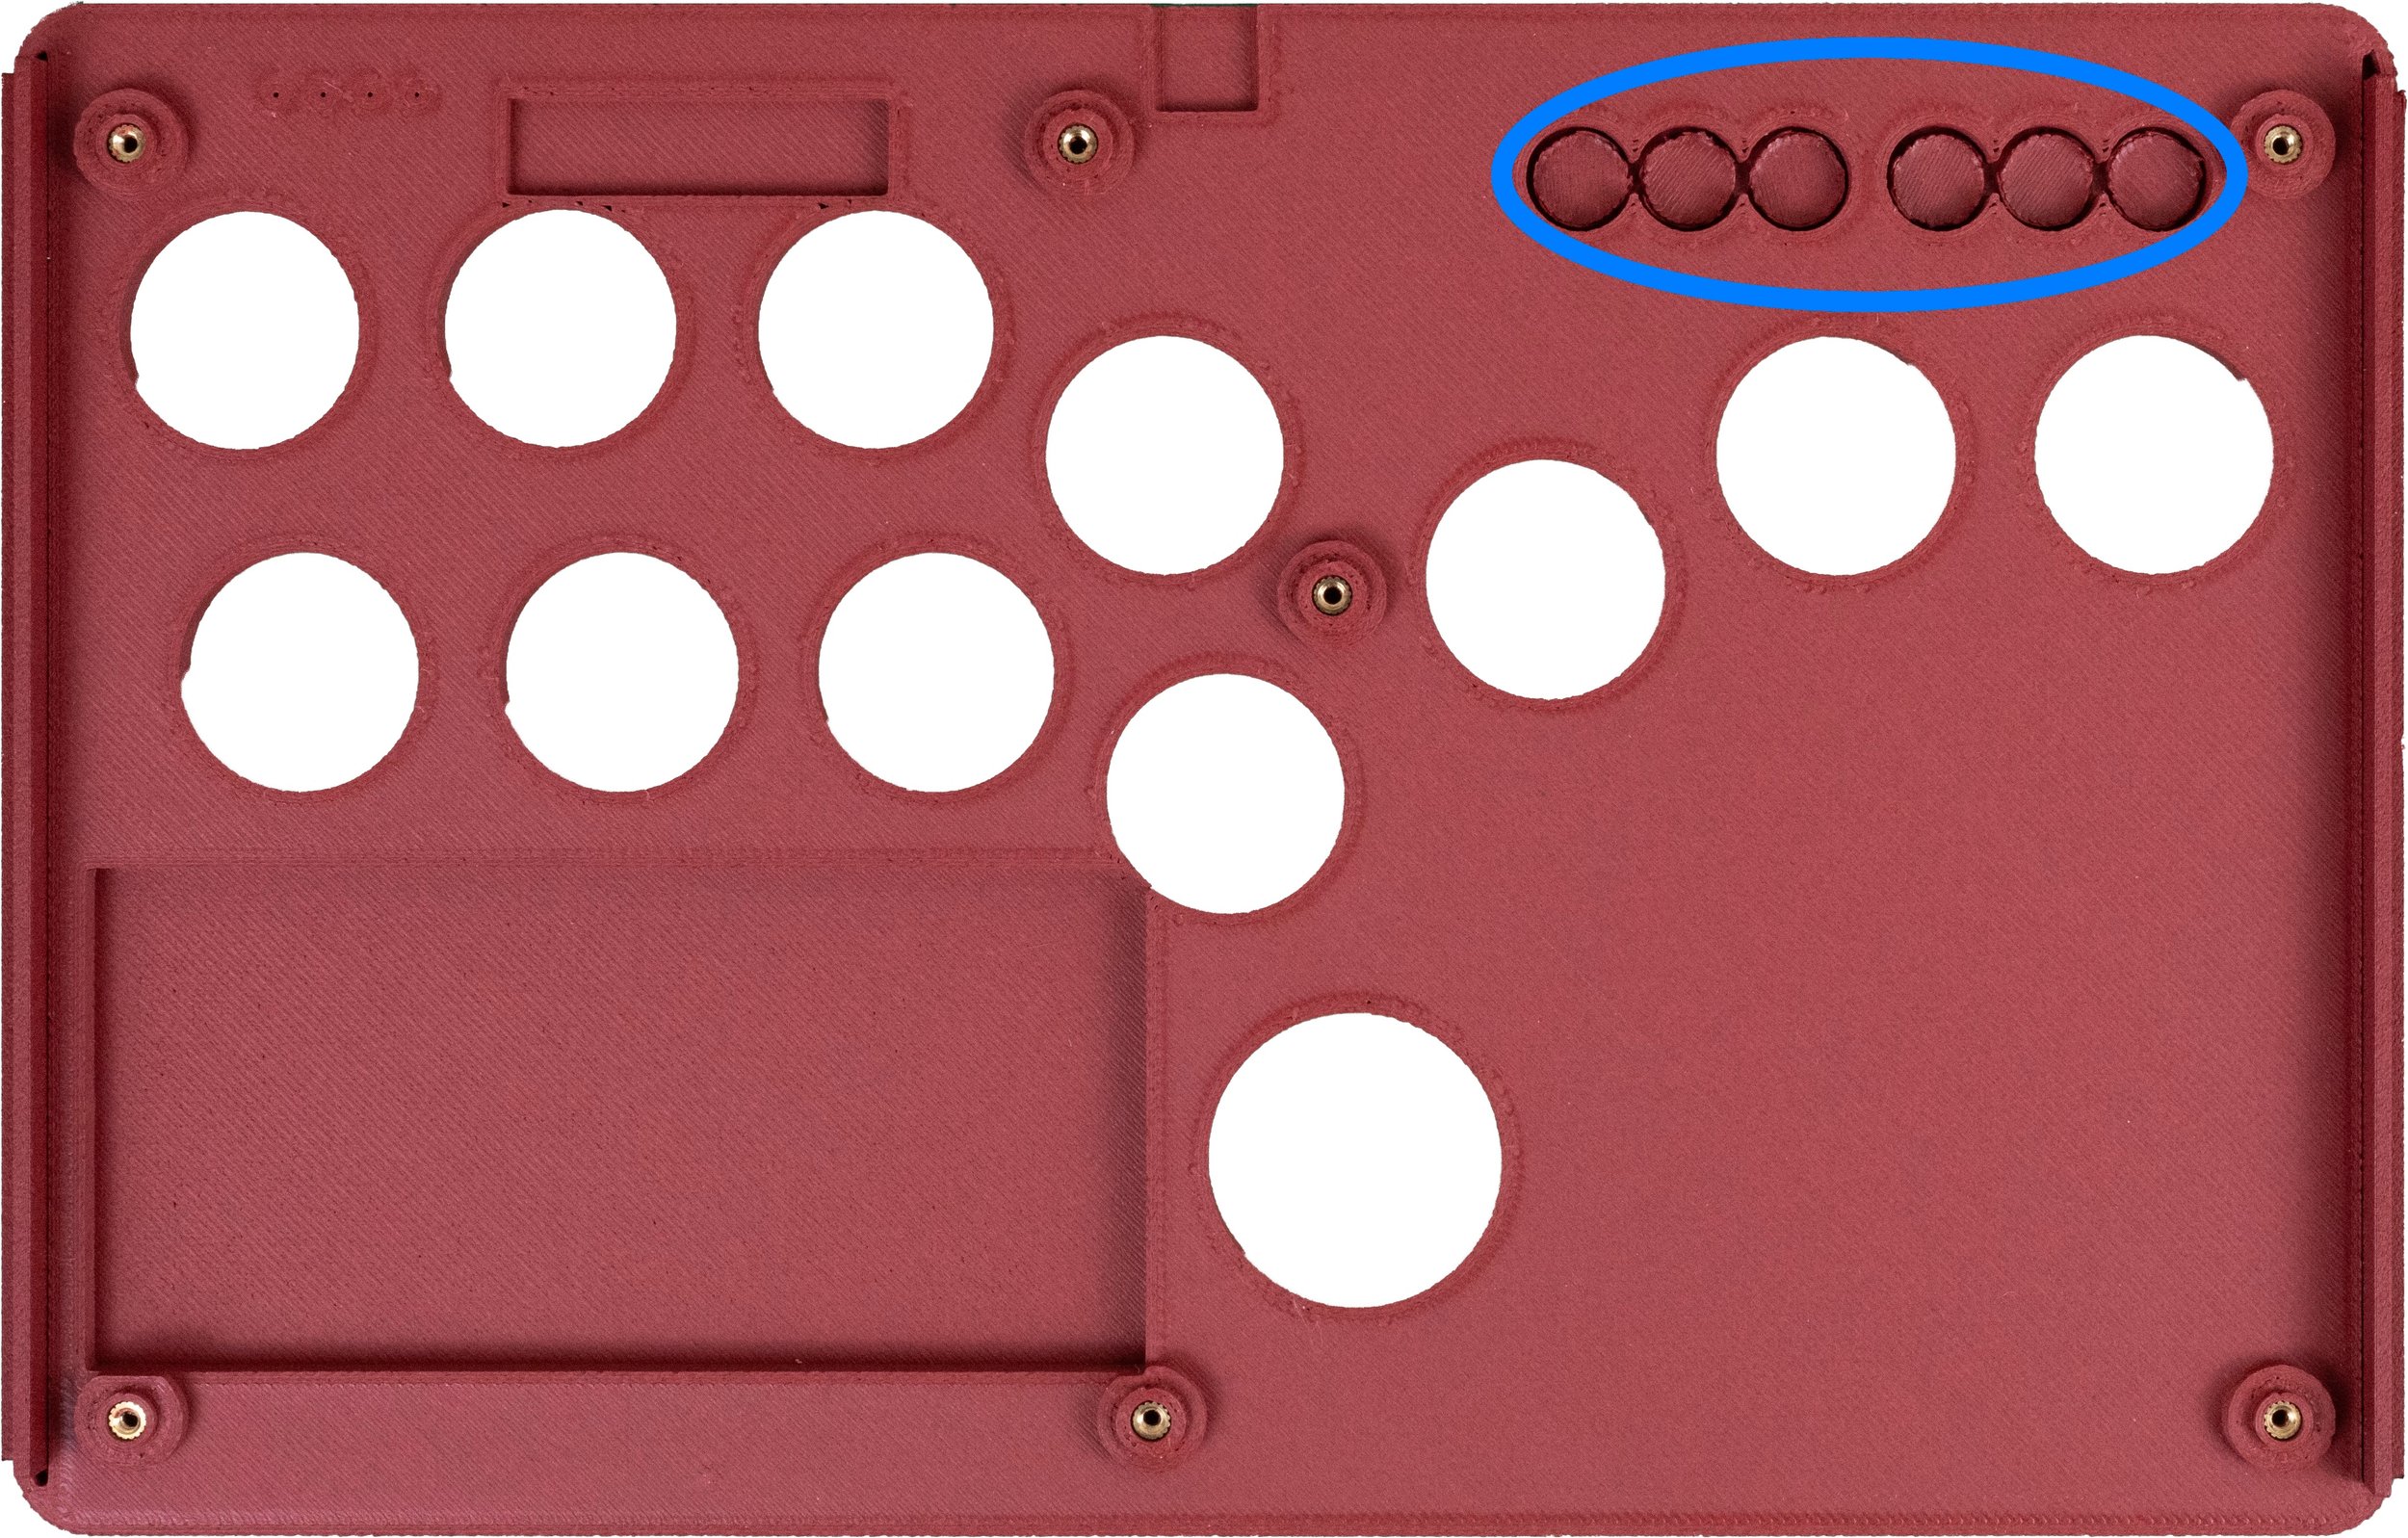
START+LEFT - Left Analog Stick Emulation
START+RIGHT - Right Analog Stick Emulation
START+UP - Digital Dpad
Changing SOCD Modes
The ZAPPA ships with Tournament (Neutral) SOCD. To change SOCD modes, refer to Brook’s Fusion documentation.
Shell Disassembly
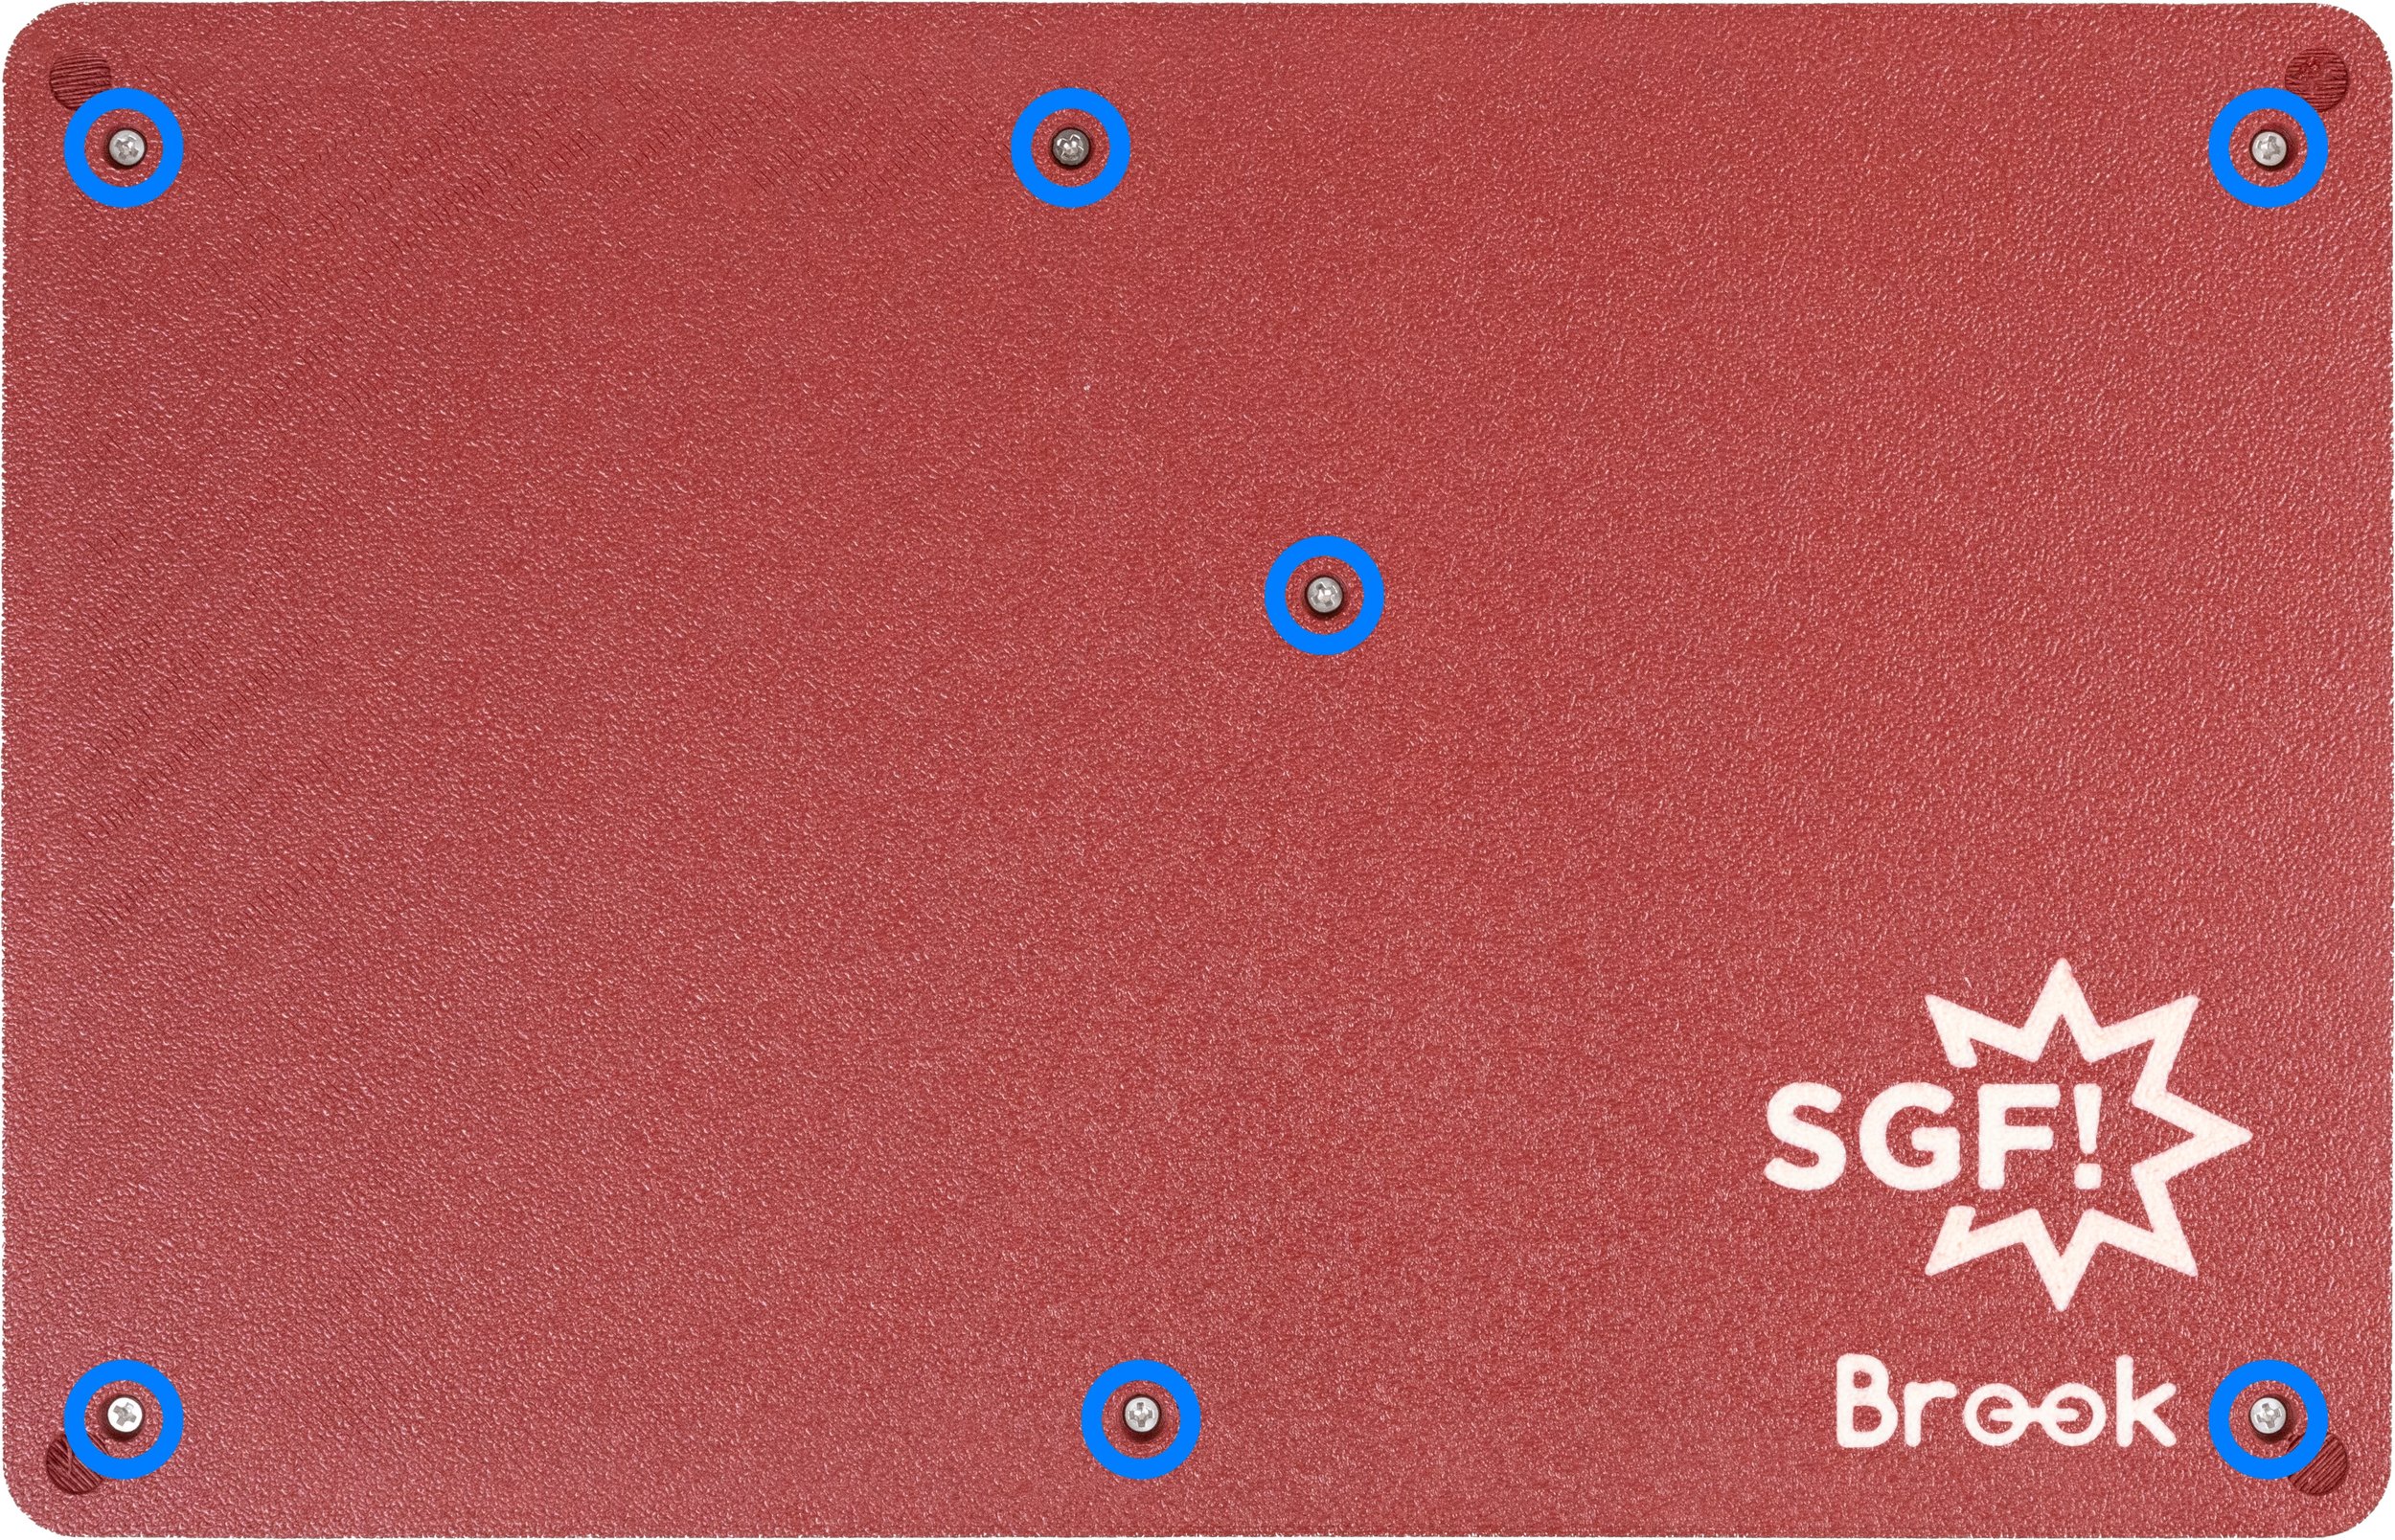
Before starting, unplug the device. To open the shell, remove the 7 screws from the back of the device, then lift away the back cover.

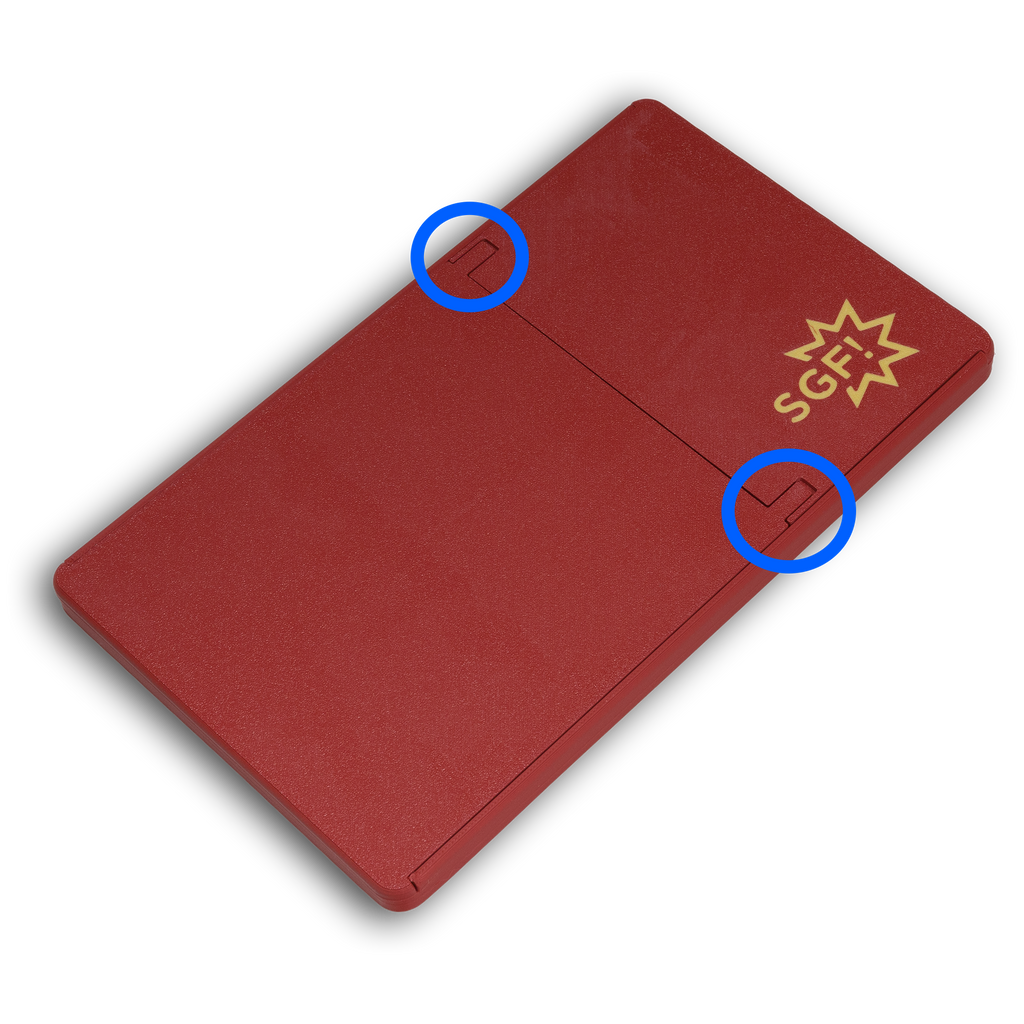
If you have a rear case without screws, lift up on the two tabs while pulling the two rear pieces apart.
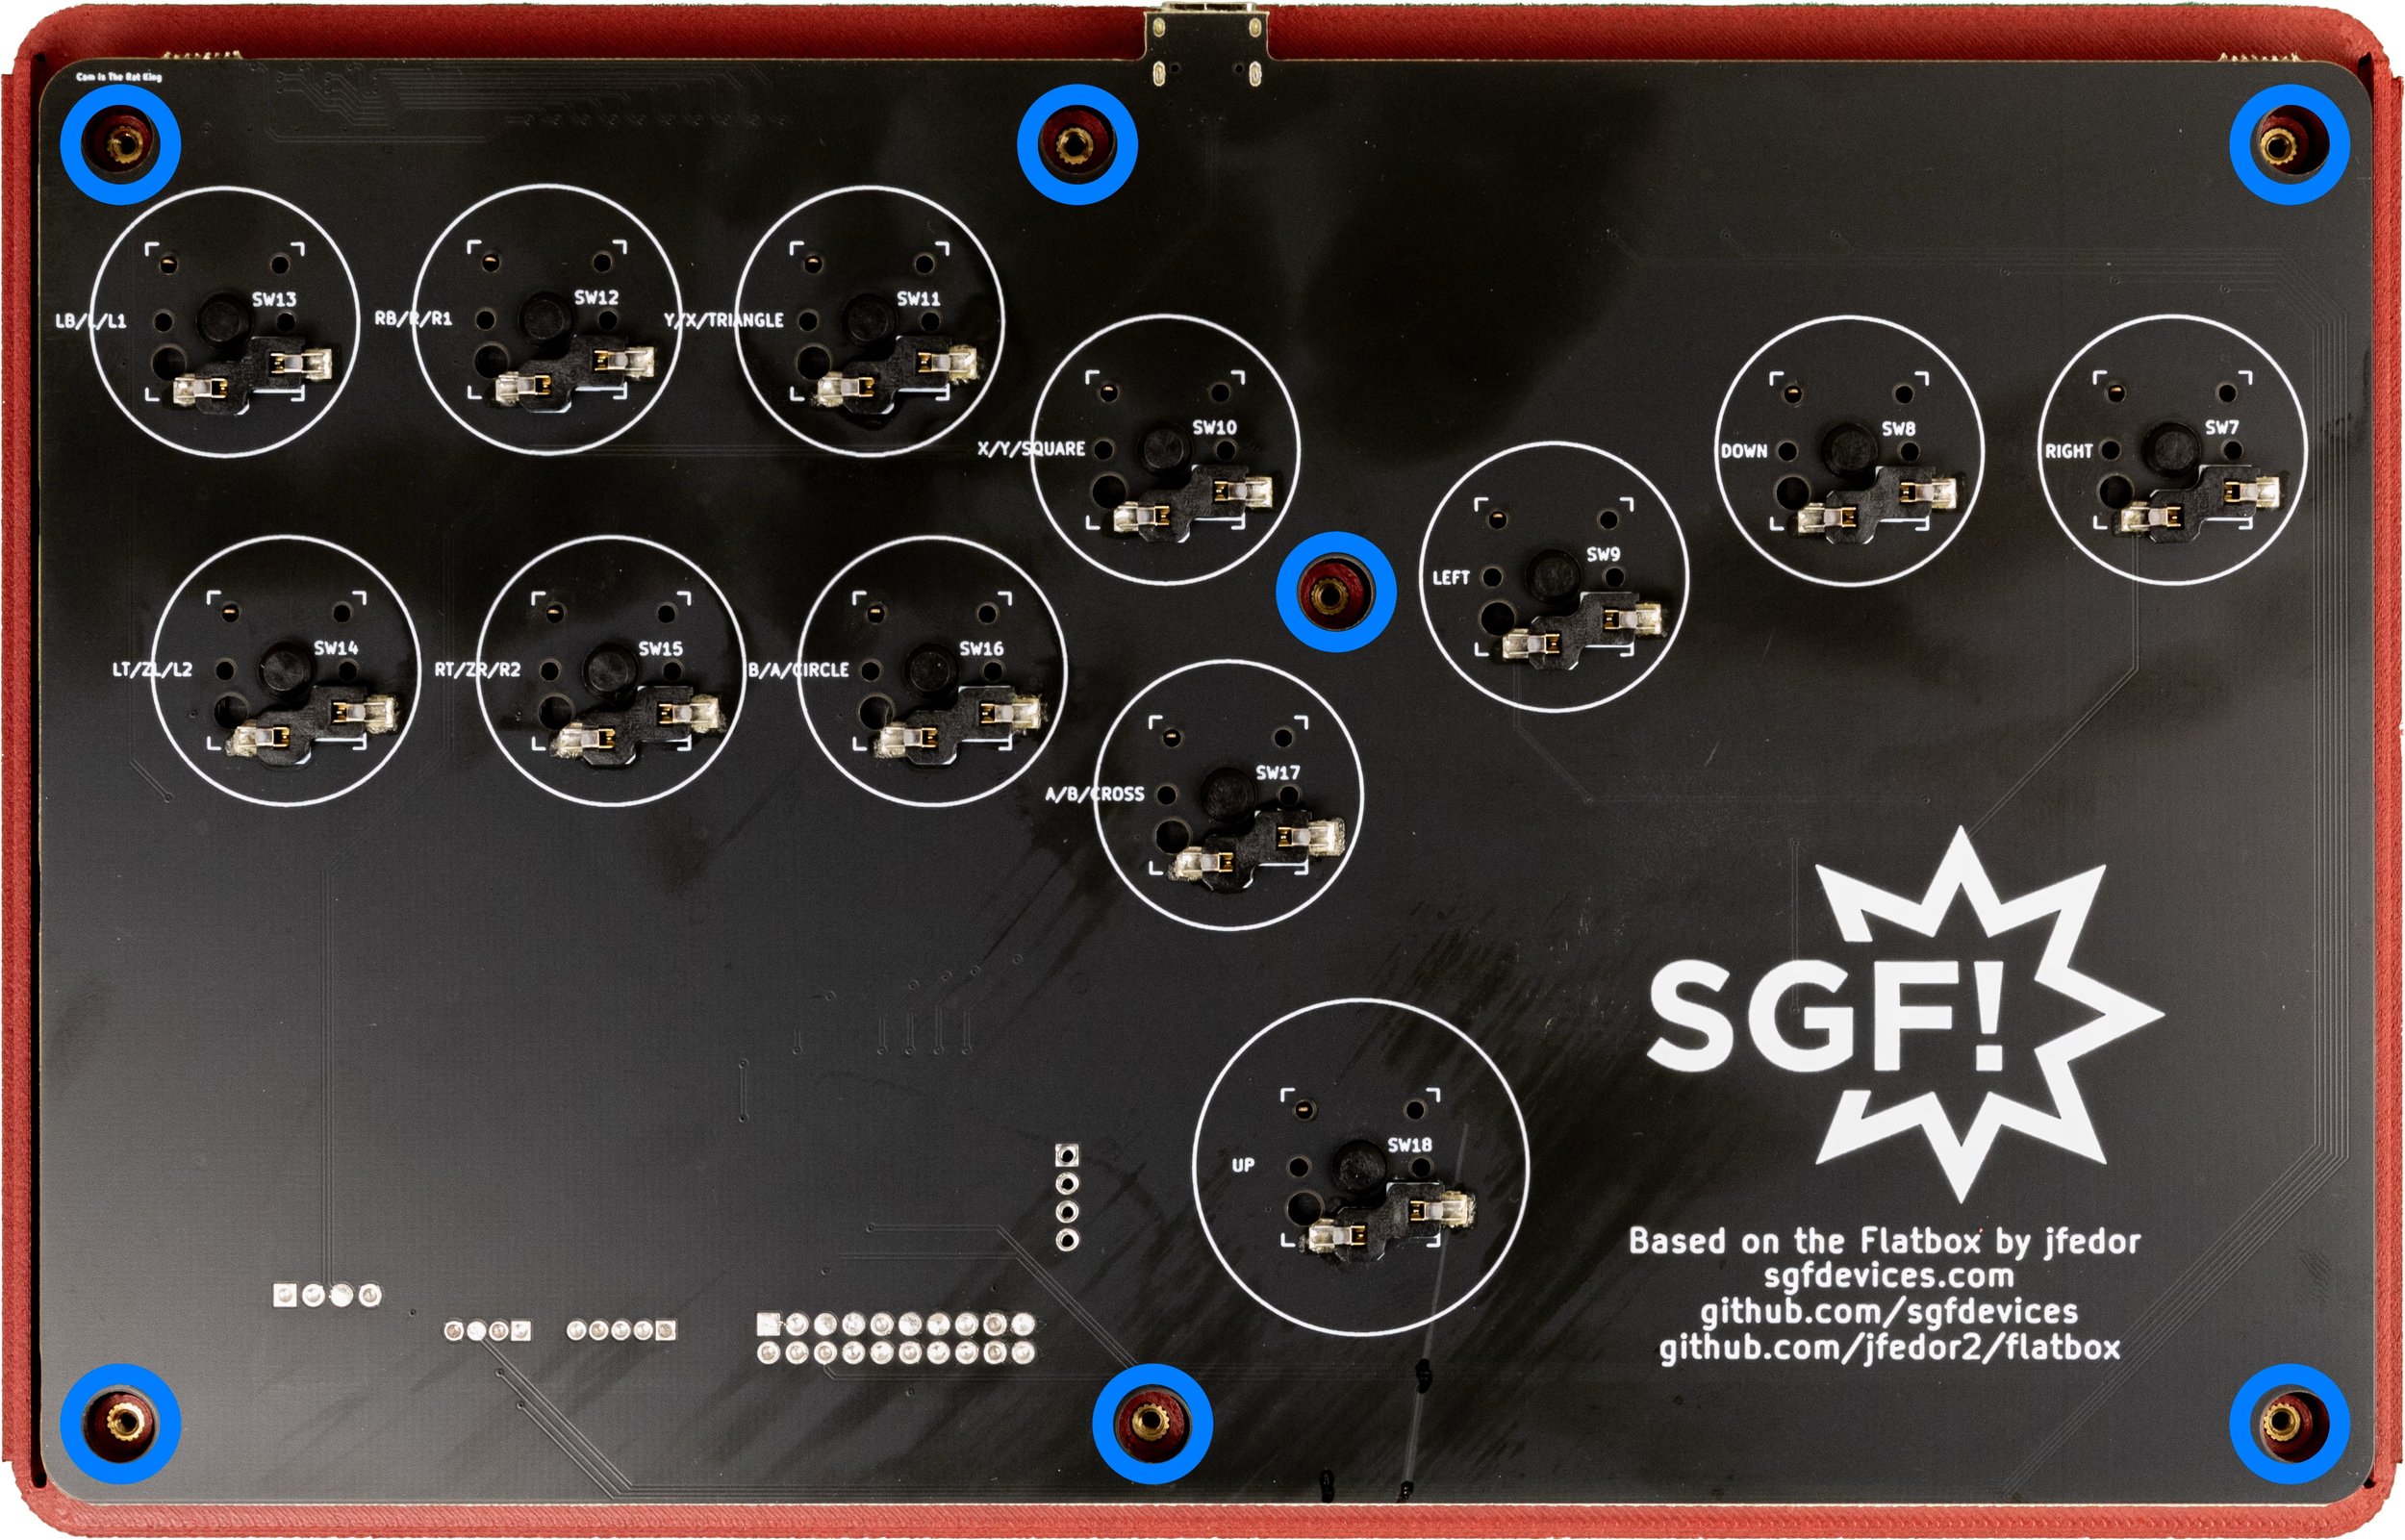
After removing the cover, gently remove the PCB from the locating posts. It may be snug, but don’t apply too much pressure.
To reassemble the shell, carefully place the PCB onto the front shell in the correct orientation, and ensure the PCB is seated fully around the alignment pins. This may be a tight fit.
When reassembling, insert the side plates and aux buttons in the top shell first.
After checking alignment, place the back shell over the PCB and install the screws. Ensure the side plates slot into the bottom shell.
Once properly aligned, hold the shell and PCB together tightly while tightening the screws. Do not over-tighten the screws. They should be snug enough to hold the shell together firmly, but over-tightening can break the studs that retain them.
If you have a case without screws, carefully insert the two back pieces and slide them together.

After seating both sides, press down on the tabs to be sure they are fully engaged.
Removing Switches
After Removing Shell
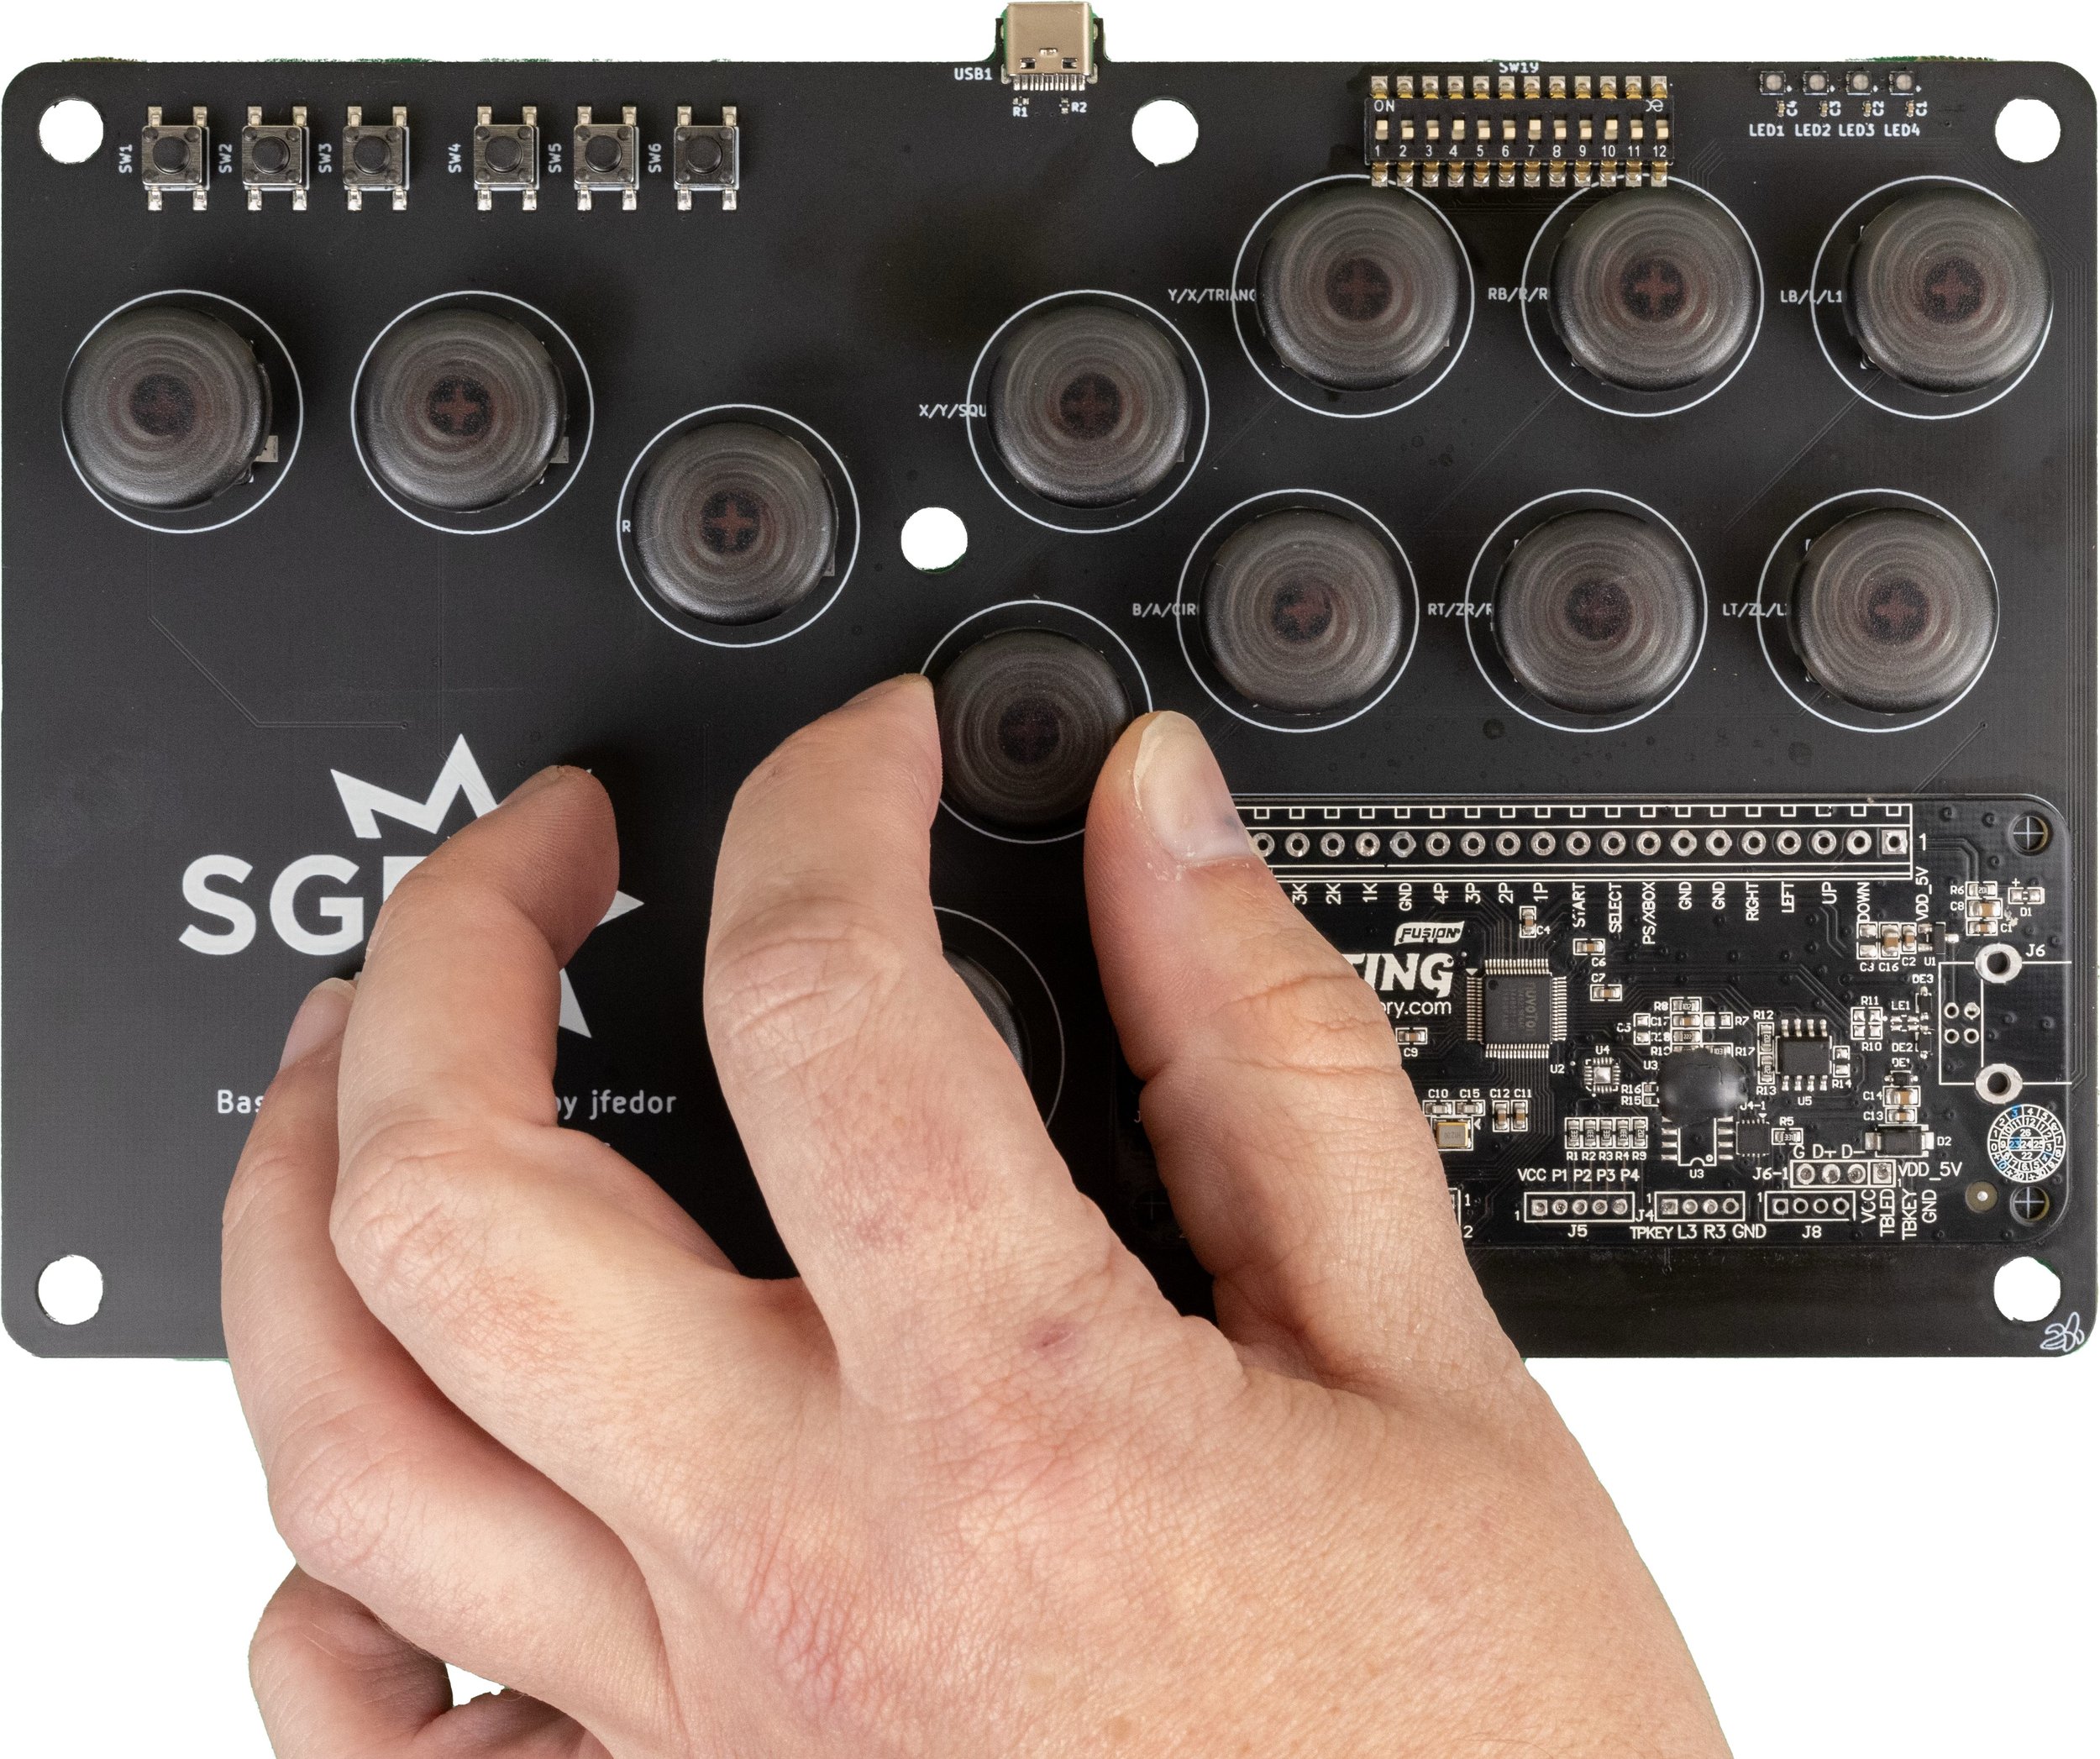
After removing the PCB from the shell, gently pull on the button cap to remove teh cap and switch.
After removing the switch from the board, the button cap can be separated from the switch by gently pulling them apart with your fingers.
Installing Switches
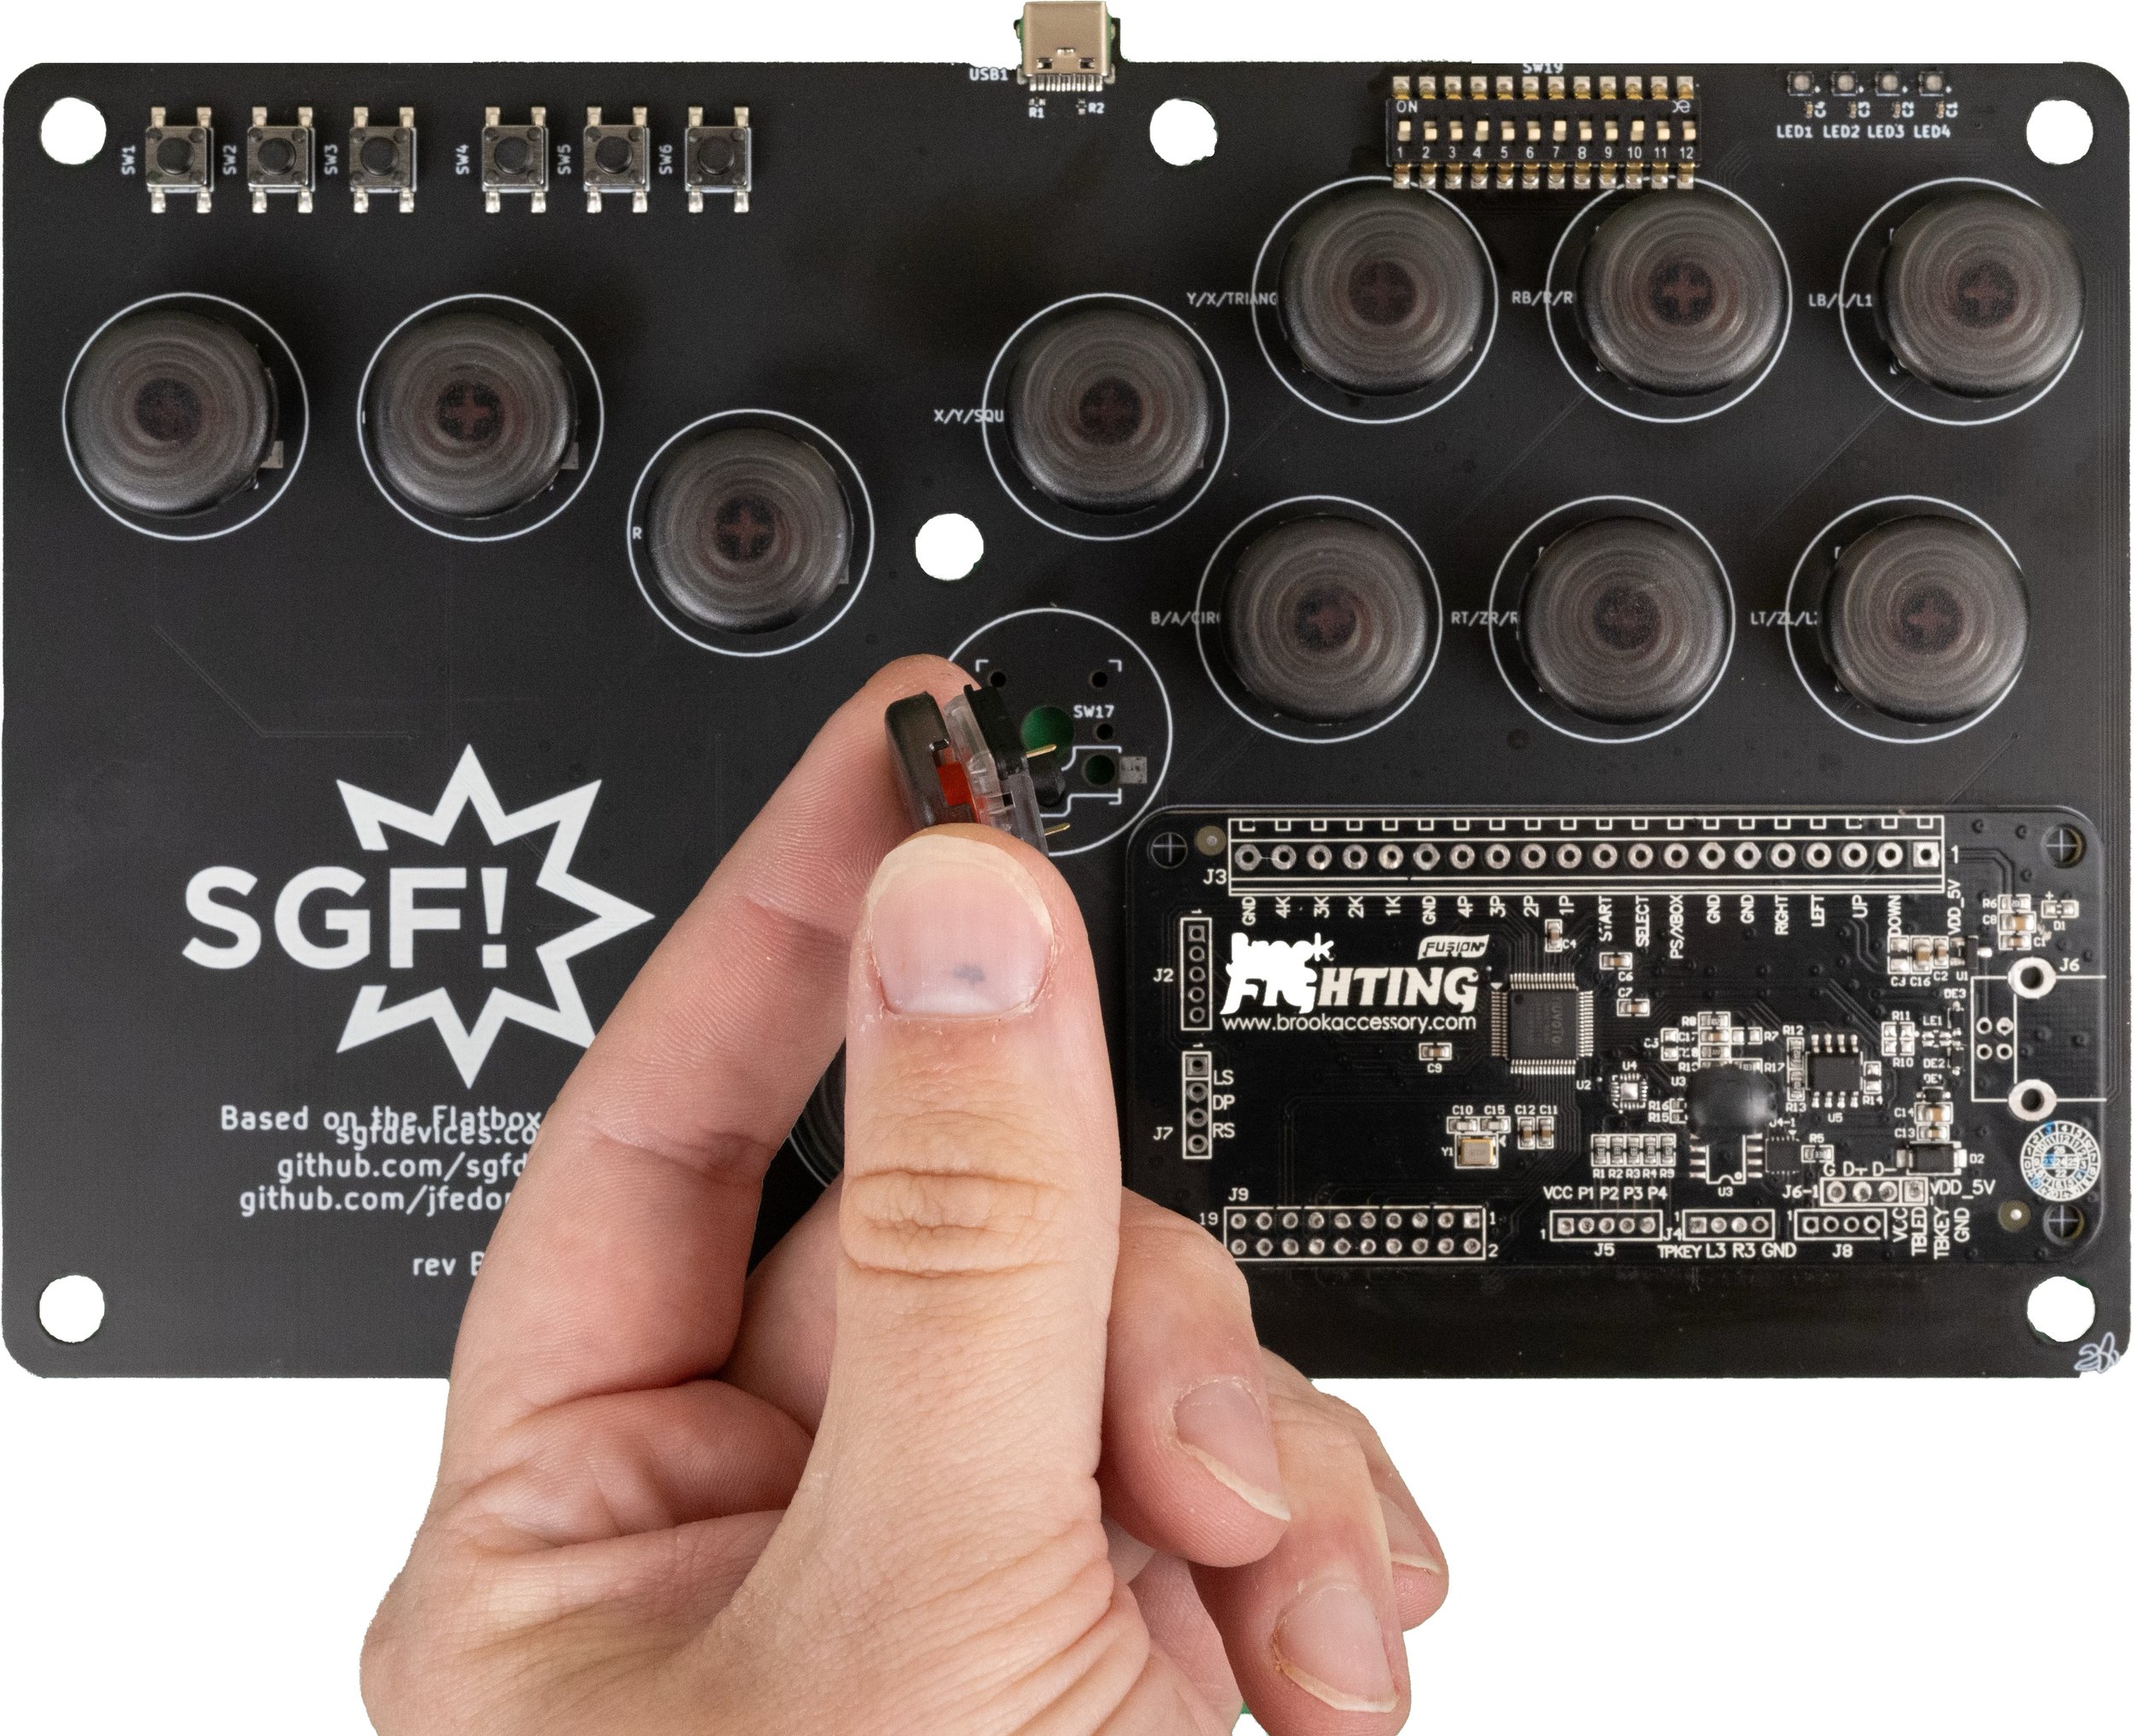
This may be done with or without the shell on.
Ensure the metal pins on the switch are aligned with the slots in the PCB, then press the switch onto the PCB firmly.